Introduction
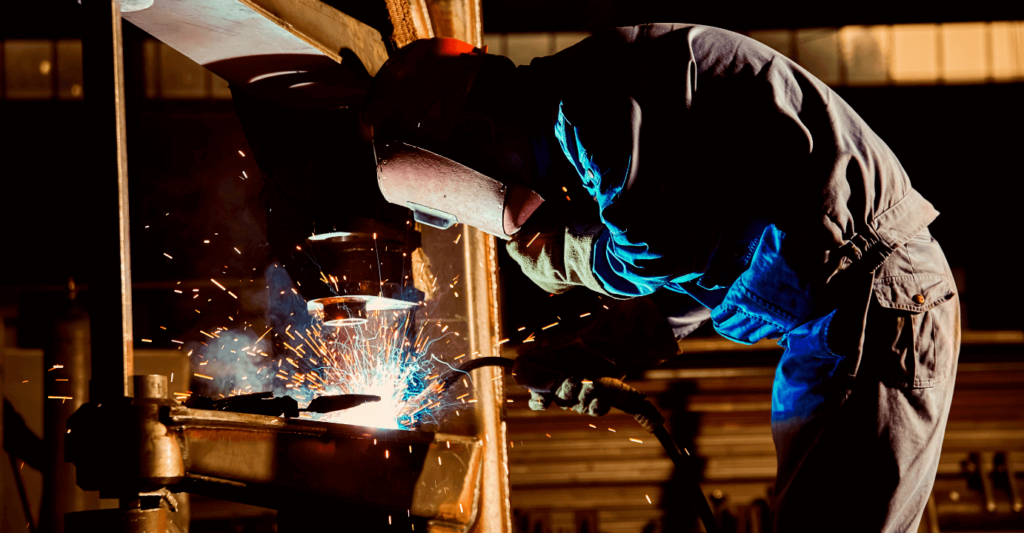
Welding distortions hurt both beginners and professional welders. And believe us, getting exposed to this strange phenomenon of welding isn’t a joyful experience. Welding distortions can handsomely ruin your project and render it useless if you don’t put thought into the process. This is the reason why we wanted to create a standalone piece to help you understand welding distortions and several tips you can follow to prevent them forever. Excited? Well, we know we are! Let’s get started!
What are welding distortions?
Distortions during welding? Well, it is not a very common occurrence. And why would it be? Metals generally expand when exposed to high heat. But, distortions do happen and have several factors behind their occurrence. One of the most common reasons why welding distortions occur is when the welder focuses entirely on one side of the metal or doesn’t alternate the sides often.
Another crucial factor that might result in welding distortion is the kind of metal you are using in the process. The nature of metal matters since it changes its mechanical properties like elasticity, yield strength, thermal conductivity when exposed to extremely high heat. Thus, the choice of metal is also a reason why welding distortion occurs. The non-uniform distribution of heat across the metal might make life worse after the cooling process.

What are the different types of welding distortions?
Before we share several crucial tips to fix and prevent welding distortions, let’s take a quick look at the different types of welding distortions. Let’s discuss them briefly, shall we?
● Longitudinal shrinkage
When you apply force parallel to the weld, perpendicular distortions happen that can use longitudinal shrinkage.
● Bucking
This generally happens when you are rectifying a thin metal sheet. It is a challenging process to weld a thin metal sheet, and only a professional welder can prevent bucking.
● Transverse shrinkage
You will have a transverse shrinkage when the distortion moves vertically through the weld or the weld cross-section. The distortion happens when the contractions run perpendicular to the weld.
● Angular distortions
These are the most popular forms of transverse shrinkage that cause the warping of the metal. It usually happens when you apply a strong force on one side of the neutral axis.
Seven ways to fix welding distortions
Now that you are well acquainted with the different types of welding distortions, we are all set to discuss ways you can prevent them from happening in your upcoming projects.
1. Put the hammer down!
Fix distortions by hammering the metal! This is one of the most common ways to fix them. Ideally, you will want to use a hard instrument to hit the distortion hard enough that it turns into a flat surface. You can use a hammer, machine press wedge, or anything else. Indeed, it is a time-consuming process. But, you can use it when you have no other available solutions.
2. Simple, avoid over-welding
Why over-weld? Just reduce the amount of metal you are using on a joint. Anticipate the right weld size for the joints as it will help you save a significant amount of time and the weld metal. We suggest you use a slightly convex bead to regulate the amount of weld metal you apply to the joint.
3. Plan the welding sequence
You will reduce the percentage of errors if you plan the weld well. The technique is quite simple to emulate. All you have to do is position the weld metal at different points in the assembly. In this way, the sequential welds will effectively fight the distortions. This technique is very helpful in joint penetration groove welds.
4. Use intermittent welding
This is a very important tip, especially for all the beginners reading the post. Stop welding continuously. If you are new to welding, apply intermittent welding as it significantly decreases distortion. Indeed, the heat transfer through the metal reduces by as much as 75 percent. But, it won’t have any significant impact on the strength of your welds.
5. Few weld passes will do magic
Use fewer weld passes with a larger electrode. This is important to note, especially when there’s a possibility of transverse distortion. We suggest you stop using more passes with smaller electrodes as shrinkage or distortion is cumulative with every pass. You will end up getting more shrinkage as you make more passes.
6. Backstep welding, anyone?
Another foolproof way to reduce distortions is to use backstep welding. In this, you reverse the sequential bead segment in a way it runs opposite to the general progression of welding. Once the beads are in place, the heated edges will expand but across the plate. This will significantly reduce the distortions as the plates get back together due to the expansion.
7. Minimize the welding time
Lastly, you can try to minimize the amount of heat transferred to the metal. When you minimize the time while welding, you automatically reduce the possibility of shrinkage and distortion.
Keep reading!
So, did you find out why you kept getting welding distortions? We hope you did. The tips mentioned above will certainly help you significantly reduce welding distortions and get a perfect weld. What are the other welding-related issues you face on a regular basis? Let us know in the comments. Also, don’t forget to check out other informative posts on the blog! We have answers to most of your frequently asked questions.

